Creating and Viewing Interactive Virtual Tours
- Ben Mazza
- Mar 12
- 4 min read

Interactive Tours in Sagenverse allow you to guide your audience through a curated sequence of "stops," each designed to tell a part of your story. This feature is ideal for virtual exhibits, training modules, product showcases, and more. Your sagen can have multiple tours so consider if having multiple segments would provide a better experience over a single longer experience.
Creating a New Interactive Virtual Tour:
From the main toolbar in the 3D editor select Tours.

The Tours Menu will appear showing you any tours previously created, or enabling you to create a new tour.

To create a new tour, press the Create New Tour Button
You'll be taken to the tour editing menu.
Here you can enter a name for your tour and provide a description. Then you're ready to start adding stops.

Adding Stops

Once in tour editing mode, you'll be free to explore the space much in the same way as editing. To make a new tour stop, move your camera to the area of interest you'd like to show and press "Add Tour Stop"

Once pressed, a new tour stop will show up on the tour stop list with the default name "Tour Stop"
From here you can continue to add more tour stops in the same fashion, or edit the details of your tour stops.
Once your satisfied with your tour, press "Save Tour" this will save your tour and return you to the main tour editing menu. Note: - if you close the tour editor window without saving you'll lose any unsaved work.
Editing Tour Stops
Each stop in your stop list offers a button to edit the stop details it looks like a pencil.

Once pressed a tour stop form will appear providing options for the stop:

Stop Name: The title of the stop that will appear if "show stop title" is enabled and what name is listed on the tour stop menu.
Description: A long form description field that will be displayed to visitors when stop titles are enabled
Manage Camera Point of View

Preview Tour Stop POV - Moves the camera to the location that was established in the tour.
Set Tour Stop POV - Replaces the previously saved camera position with the current view.
Add Main Audio - Add an audio clip that plays when viewing this tour stop. Once a clip is added the name will appear and options to change or delete the clip.
Add Transition Audio - Add an audio clip that plays between stops. These are useful for changing subjects or incorporating a narrative segue during your tour.
Note: transition audio clips cannot be skipped so consider the user experience when adding a transition audio file.
Show Stop Title: When enabled, it will show both the title and descriptions when viewing this stop as a visitor (on by default)
Auto Advance Tour Stop - When toggled, the tour will proceed to the next stop automatically when any added audio clip is complete. If there is no audio present the tour will keep moving to the next stop directly upon arrival (handy for adding specific camera movements to your tour)
Reordering Tour Stops

To reorder tour stops, you can drag and drop the stop card into a different position in the list. The order will update accordingly.
Saving Tours
Important! All changes to your tour must be saved for them to persist - The Room Must also be saved after this.
Previewing Tours as a Visitor:
From the main tour editing menu, press the View Button. This will load the sagen scene into viewing mode. Press the "Test Tour as Viewer" button to launch into the selected tour.

When viewing the tour, you'll be able to access a menu that provides you direct access to the stops and to return to editing mode.
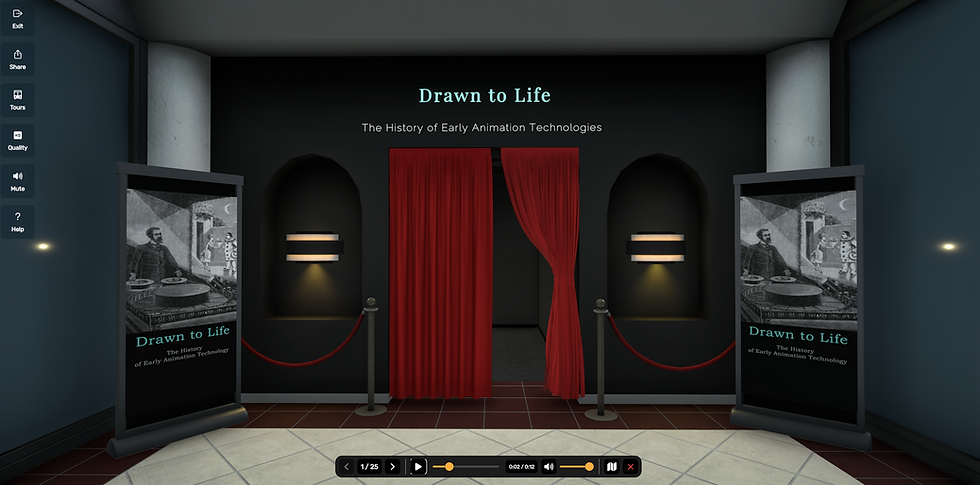

Stop Navigation Buttons - The left and right arrow buttons will progress or review the various stops of the tour. These can be operated via your keyboard's left and right arrow keys. This also works with most presentation clickers!
Pausing/Playing Audio
If the tour stop offers an audio clip, an audio player will appear with controls for pausing, playing, adjusting volume and scrubbing through the audio clip. Note: Transition audio files present no audio player controls.
View Tour Stops
Pressing the view stops button calls up a horizontal menu of each tour stop in the tour. Clicking on any of the thumbnails will transition you to that stop in the tour.


Ending Tour Preview
When the last tour stop has been passed - A menu appears giving a choice to either return to editing mode, restarting the tour or opening the tour stops menu.


